


Tight, flaky skin that feels uncomfortable within hours of moisturising is a sign your routine isn't doing its job. If you're searching for the best skincare routine for dry skin, you've likely already tried a random assortment of creams that promise the world and deliver nothing but a temporary sheen. Dry skin needs more than a thick moisturiser slapped on at night. It needs a proper sequence of products working together.
If you'd rather not guess, our Day & Night Facial Hydrating Serum takes the guesswork out of it — see the rest of the Effective Dry Skin Care Collection range too.
This guide gives you exactly that: a step-by-step routine covering which cleanser to use, when to apply a hydrating serum, and how to lock in moisture with the right moisturiser, morning and night. No guesswork, no filler products, just an order of operations that actually addresses dryness and dehydration at the source.
We'll walk through each stage of the routine, explain why the sequence matters, and point out ingredients worth looking for, like hyaluronic acid and natural oils. Whether you're rebuilding your routine from scratch or fixing gaps in your current one, you'll finish this article knowing precisely what to do each morning and evening for calmer, softer skin.
Why dry skin needs a dedicated skincare routine
Dry skin isn't just a texture, it's a functional problem. Your skin barrier, the outermost layer made of lipids and dead skin cells, is meant to hold moisture in and keep irritants out. When that barrier is compromised, either from genetics, weather, harsh cleansers, or over-exfoliating, water escapes faster than your skin can replace it. That's why a generic routine built for normal or oily skin often makes things worse. It doesn't address the actual mechanism causing the tightness and flaking in the first place.
Dry skin vs dehydrated skin: know the difference
Many people confuse the two, and it changes what your routine should prioritise. Dry skin is a skin type, meaning your sebaceous glands naturally produce less oil, and it's a long-term condition you manage rather than cure. Dehydrated skin is a temporary state where the skin lacks water, and it can affect any skin type, including oily skin. You can have oily, dehydrated skin that flakes despite looking shiny.
| Feature | Dry skin | Dehydrated skin |
|---|---|---|
| Cause | Low oil (sebum) production | Low water content |
| Duration | Ongoing, genetic skin type | Temporary, can affect any skin type |
| Feels like | Rough, tight, flaky | Tight, dull, sometimes still shiny |
| Fixed by | Oils, emollients, richer moisturisers | Humectants like hyaluronic acid, glycerin |
Most people with persistent dryness are dealing with both issues at once, which is exactly why the routine in this guide layers hydrating and moisture-sealing steps rather than relying on one product to do everything.
How a damaged barrier shows up day to day
Noticing the early signs saves you months of frustration. Redness after cleansing, a tight feeling within an hour of applying moisturiser, flaking around the nose and cheeks, and skin that stings when you apply products that never used to bother you are all classic barrier warning signs. According to the NHS, persistent dry skin can also be linked to conditions like eczema or dermatitis, so it's worth speaking to a GP or dermatologist if home care alone isn't helping (https://www.nhs.uk/conditions/dry-skin/).
A dedicated dry skin routine works by rebuilding and protecting your skin barrier, not just by adding more cream.
What a targeted routine actually fixes
Once you understand the barrier is the root issue, the logic behind each step in this guide makes sense. A gentle cleanser avoids stripping the lipids you're trying to preserve. A hydrating toner replenishes water before you layer anything else. Serums with humectants pull moisture into the skin, while a rich moisturiser locks it there. SPF, often skipped by people with dry skin because they assume they don't need sun protection, actually prevents further barrier damage from UV exposure.
Skipping steps, or doing them in the wrong order, means you're working against your own skin. Applying a heavy moisturiser to bone-dry skin without a hydrating layer underneath just seals in dryness rather than moisture. Building the full sequence, cleanse, tone, serum, eye care, moisturise, protect, gives your skin a genuine chance to recover rather than just look temporarily less dry. That's the difference between a routine that manages symptoms and one that actually improves your skin's condition over weeks of consistent use.
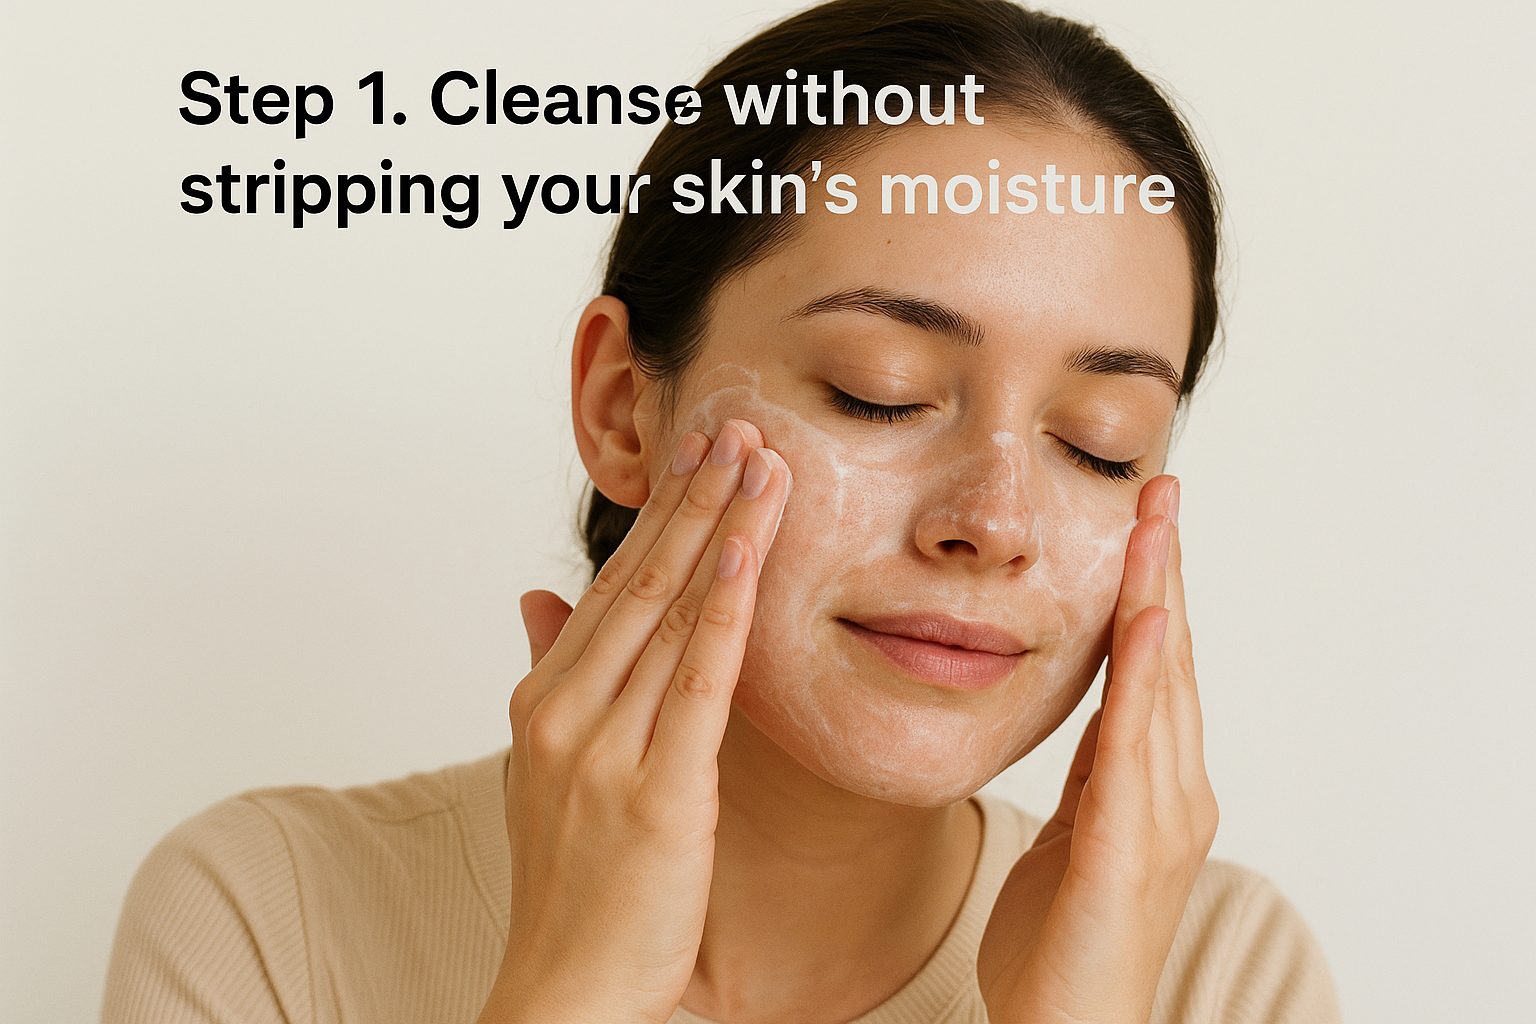
Step 1. Cleanse without stripping your skin's moisture
Cleansing is where most dry skin routines go wrong before they've even started. Foaming cleansers with sulphates strip away the natural lipids your skin needs to hold onto water, leaving you tighter and flakier than before you washed your face. The first step in any dry skin routine should feel gentle enough that your skin never squeaks or pulls after rinsing. If it does, the product is doing more harm than good, no matter how clean it makes you feel in the moment.
Pick a cream or oil-based formula
Swap anything foaming for a cream, milk, or oil-based cleanser. These formulas clean without emulsifying away the oils your barrier depends on. Look for ingredients like:
- Squalane or plant oils (jojoba, sunflower, argan)
- Glycerin or hyaluronic acid for added hydration
- Ceramides to support the skin barrier
- Mild surfactants rather than sulphates (avoid sodium lauryl sulfate)
Oatmeal and shea butter based cleansing bars also work well for sensitive, dry skin, since they clean gently while depositing moisture rather than pulling it out.
How to cleanse without over-drying
Technique matters as much as the product itself. Follow these steps morning and night:
- Use lukewarm water, never hot. Hot water breaks down the lipid barrier faster than anything in your cleanser.
- Apply a small amount of cleanser with your fingertips, massaging for 30 to 60 seconds rather than scrubbing.
- Rinse thoroughly, then pat your face dry with a soft towel. Rubbing irritates already compromised skin.
- Move straight to your next step within 60 seconds while skin is still slightly damp.
Never let dry skin sit bare after cleansing; the next product needs to go on while your skin is still damp.
That last point deserves repeating because it changes how effective the rest of your routine will be. Skin absorbs hydrating products far better when it's damp rather than fully dry, so waiting around after cleansing, even to check your phone, wastes the benefit of everything that follows.
Some mornings, you might skip cleanser entirely and just splash with water, especially if your skin feels tight after overnight treatments. This isn't lazy, it's smart. Overwashing dry skin twice a day with product can do more damage than a single proper cleanse at night, when you're actually removing makeup, SPF, and daily grime that needs to come off before bed.
Step 2. Tone to restore hydration and balance
Toner has a bad reputation from the days when it meant a cotton pad soaked in astringent alcohol, stripping away whatever moisture your cleanser left behind. Forget that version entirely. For dry skin, a hydrating toner does the opposite job: it replenishes water on the skin's surface and preps it to absorb everything that comes next. Skipping this step means your serum and moisturiser are working on drier ground than they should be.
What to look for in a toner
Not every toner belongs in a dry skin routine. Alcohol-based and heavily fragranced formulas will undo the gentle cleansing you just did, so check the ingredient list before adding one to your basket. Look for:
- Glycerin, a humectant that draws water into the skin
- Hyaluronic acid for an extra hydration boost
- Aloe vera or panthenol to calm and soothe
- Rosewater or chamomile for mild, non-irritating hydration
- No alcohol denat, witch hazel in high concentrations, or added fragrance if your skin reacts easily
A toner that leaves your face feeling tacky or tight within a minute isn't right for you, regardless of how nice it smells or how premium the packaging looks.
How to apply toner correctly
Application technique matters more than most people assume. Pour a small amount into your palms rather than a cotton pad, since pads can absorb product before it ever reaches your skin. Press the toner into your face and neck using gentle patting motions, working from the centre outward. Avoid dragging or rubbing, especially around the cheeks and jawline where dry skin tends to flake first.
Toner isn't an optional extra step, it's the layer that makes every product after it work harder.
Timing makes a real difference here too. Apply toner immediately after cleansing, while skin is still slightly damp, and let it sit for about 30 seconds before moving to your serum. This short pause gives the humectants time to bind with water on the skin's surface rather than getting diluted or pushed around by the next product.
Using a toning mist throughout the day is another trick worth adopting, particularly if you work in air conditioning or heated offices that pull moisture from the air. A few spritzes over bare or made-up skin midday won't replace your full routine, but it does top up hydration when your skin starts to feel tight before you're home to do anything more thorough about it.
Step 3. Layer on a hydrating serum
Serums exist to deliver a concentrated dose of active ingredients past the surface layer your toner just prepped. For dry skin, this step is where you introduce humectants in a stronger form than any toner can offer, ingredients that physically bind water molecules to your skin rather than just sitting on top of it. Skipping straight from toner to moisturiser means you miss the layer designed to pull hydration deeper into the skin, not just across it.

The ingredients worth paying for
Not every serum earns its price tag, so check labels before buying. For a genuinely hydrating serum, prioritise:
- Hyaluronic acid, ideally listed with different molecular weights (low and high) for hydration at multiple skin depths
- Glycerin, a reliable humectant that rarely irritates even reactive skin
- Niacinamide, which supports barrier repair while calming redness
- Panthenol (provitamin B5), soothing and moisture-retaining
- Squalane, a lightweight oil that reinforces the barrier without feeling greasy
Avoid serums leading with alcohol, salicylic acid, or high percentages of vitamin C if your skin is already compromised. Those ingredients belong in a different routine, one built for oily or acne-prone skin, not yours.
Applying serum the right way
Getting the technique right matters as much as picking the correct bottle. Follow this order:
- Dispense two to three drops onto your fingertips, never more, since serums are concentrated and a little covers the whole face.
- Press, don't rub, into damp skin, starting at the centre of the face and working outward.
- Pay extra attention to the cheeks and jawline, the areas that flake first on most people with dry skin.
- Wait roughly 60 seconds before your next step so the serum has time to absorb rather than getting diluted by moisturiser applied too soon.
A hydrating serum only works if it's applied to damp skin; on dry skin, it just evaporates before it can do anything.
Here's the thing most people get wrong: they treat serum as optional, something to add only when their skin already feels good. Flip that thinking. Serum matters most when your skin feels tightest, because that's exactly when it needs a concentrated hit of humectants rather than another thin layer of toner. Using it inconsistently, only on bad skin days, means you never give your barrier the sustained support it needs to actually repair itself.
Given how much this step contributes to the overall routine, it's worth treating serum as a non-negotiable rather than a luxury add-on, particularly through winter months or in centrally heated homes where the air itself is already working against your skin.
Step 4. Care for the delicate eye area
The skin around your eyes has almost no oil glands of its own, which means it dries out faster than anywhere else on your face and shows it first, usually as fine lines, crepiness, or a dull, tired look. Applying your regular moisturiser here isn't enough, and in some cases it's too heavy or irritating for skin this thin. A dedicated eye cream designed for dryness fills that gap, delivering hydration without clogging the area or tugging at skin that's already fragile.
Why this area needs its own product
Given how thin the skin is here, roughly a third the thickness of skin elsewhere on your face, it loses water far more quickly and shows barrier damage as fine lines rather than flaking. Look for an eye cream built around hyaluronic acid, peptides, and squalane, ingredients that hydrate without introducing fragrance or harsh actives that sting this sensitive zone. Caffeine and vitamin K can help if puffiness or dark circles are part of your concern too, but hydration should always come first for genuinely dry skin.
Treat the eye area as its own step, not an afterthought squeezed in with your regular moisturiser.
How to apply eye cream correctly
Most people apply far too much product and use the wrong technique, which wastes the formula and can drag delicate skin unnecessarily. Follow this sequence:
- Use a rice grain-sized amount for both eyes combined, more won't absorb any better.
- Warm it between your ring fingers first, they apply the lightest pressure of any finger.
- Pat gently along the orbital bone, staying a few millimetres away from the lash line to avoid irritation.
- Never rub or drag the product, especially outward towards the temples where skin is thinnest.
- Apply after your serum and before your moisturiser, both morning and night.
Here's a detail worth remembering: eye cream works on damp skin the same way serum does, so don't let too much time pass after your previous step before pressing it in. Skipping this step because your regular moisturiser reaches that far is a common mistake, and one that leaves the driest, most visible part of your face under-cared for while the rest of your skin gets the full benefit of your routine. Sticking with a dedicated eye product for a few consistent weeks is usually when people notice the difference, less tightness, less flaking, and skin around the eyes that looks rested rather than papery.
Step 5. Seal in moisture with a rich moisturiser
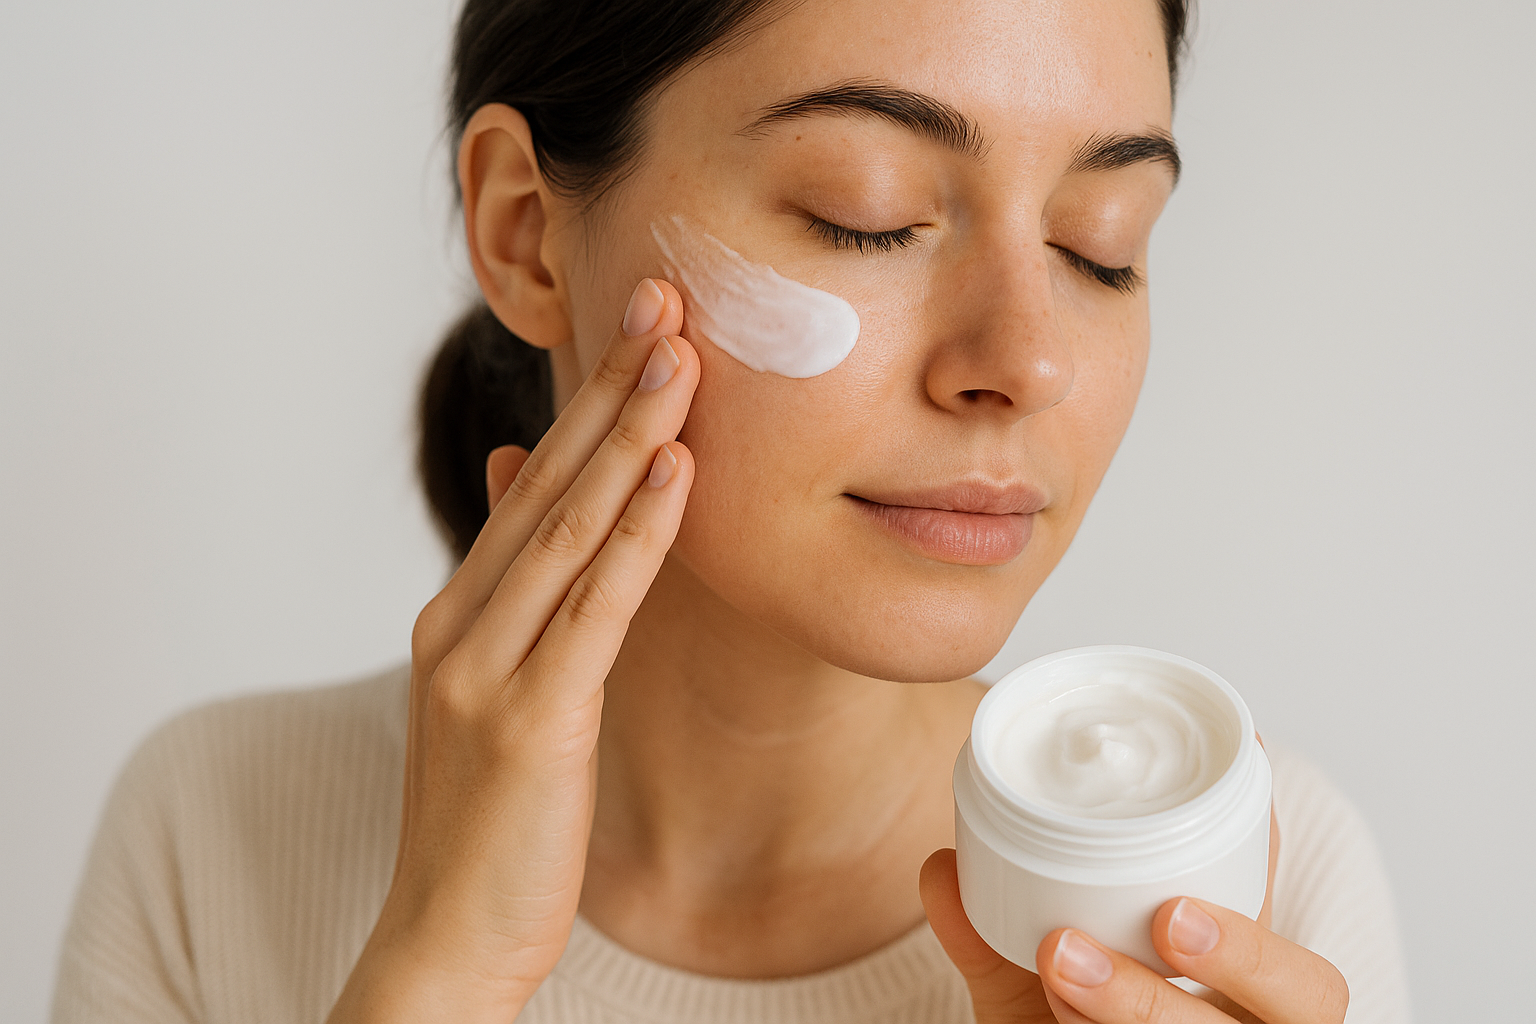
Everything you've applied so far, toner, serum, eye cream, needs a final layer to stop it evaporating before it does its job. Moisturiser is the step that traps water in the skin rather than adding much hydration itself, which is why applying a rich cream to bare, dry skin never works as well as applying it over the damp layers underneath. For genuinely dry skin, this isn't the place to economise on texture. A rich, emollient moisturiser applied correctly is what finally makes the tightness and flaking settle.
Choosing between emollients and occlusives
Good dry skin moisturisers combine two types of ingredients, and knowing the difference helps you read labels properly. Emollients smooth and soften by filling gaps between skin cells, while occlusives form a physical seal on top to stop water loss. Most rich creams blend both.
| Ingredient type | Examples | What it does |
|---|---|---|
| Emollients | Shea butter, squalane, plant oils | Softens skin, fills in rough patches |
| Occlusives | Petrolatum, beeswax, lanolin | Forms a barrier to lock moisture in |
| Humectants (carried over) | Hyaluronic acid, glycerin | Continues drawing water in |
For most people, a formula built around shea butter or ceramides, paired with a lighter humectant, gives the best balance without feeling greasy through the day.
A rich moisturiser only works if it's sealing in hydration that's already there, not compensating for skin left bare underneath.
Applying moisturiser for maximum effect
Technique still matters at this stage, even though it's the last step before SPF or bed. Warm a generous, coin-sized amount between your palms first, since this softens the cream and helps it spread evenly rather than sitting in patches. Press it into your face and neck using upward motions, paying attention to areas that flake most, usually the cheeks, jawline, and around the nose.
Nighttime is when you can afford to go heavier. Swapping to a thicker, occlusive-leaning night cream gives your skin hours of uninterrupted repair without the concern of feeling greasy under makeup or SPF. If your skin still feels tight an hour after moisturising, that's a sign to size up to a richer formula rather than adding a second thin layer on top.
Step 6. Protect your skin with daily SPF
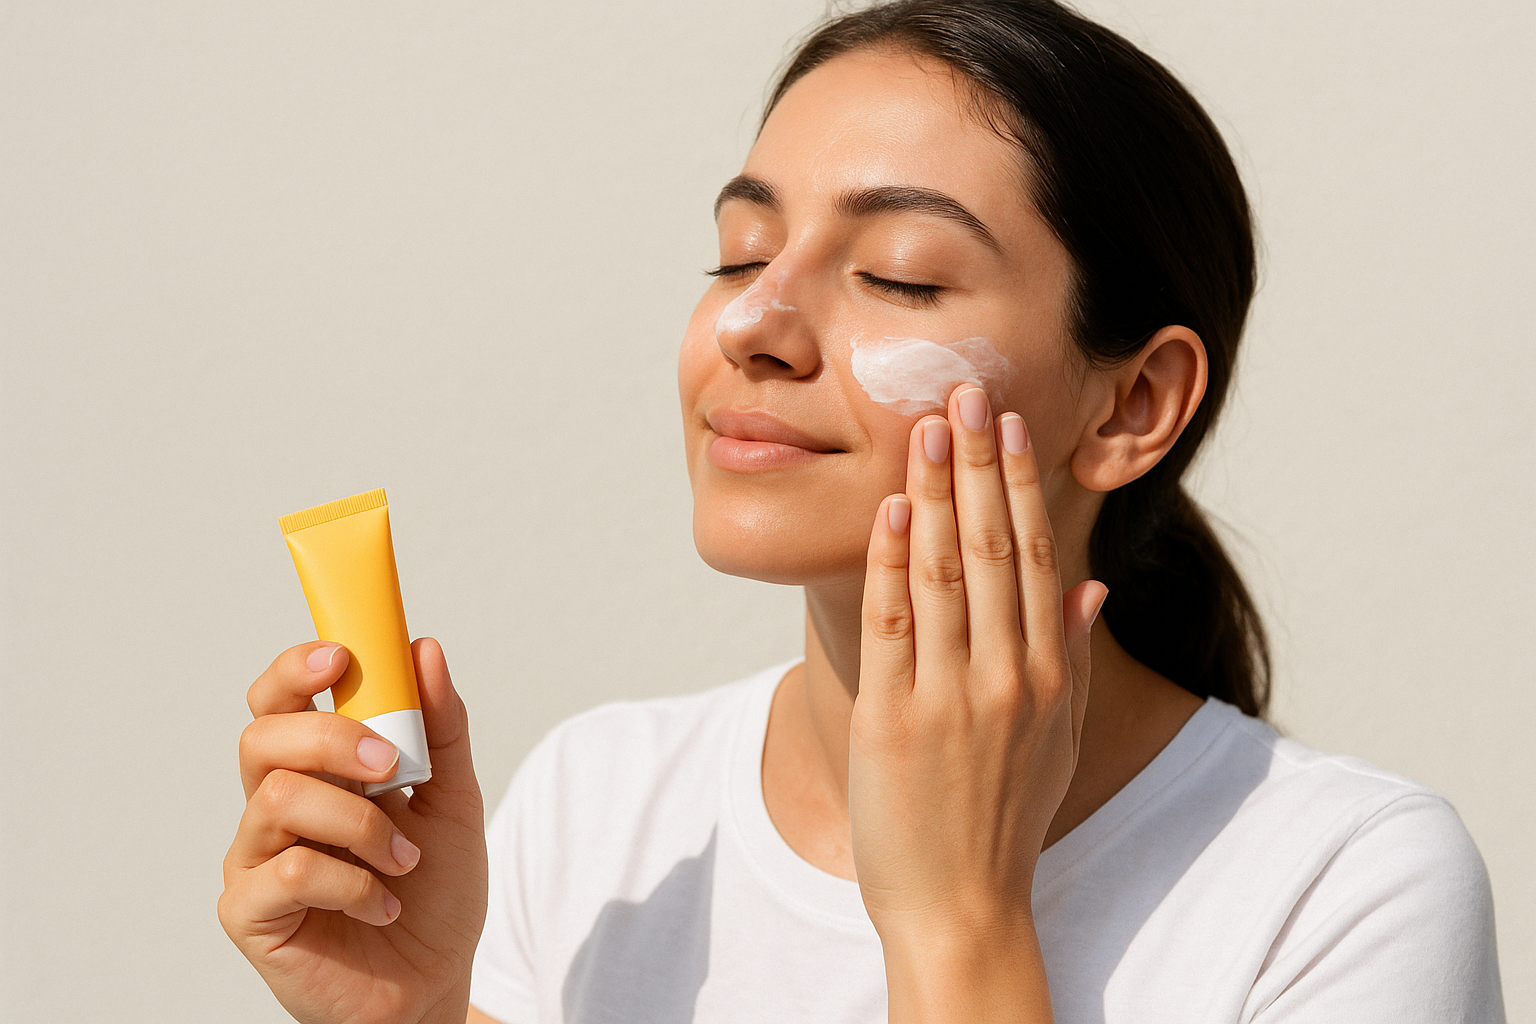
Skipping sunscreen is the single biggest mistake people with dry skin make, usually because they assume UV protection is a concern for oily or acne-prone skin, not theirs. That thinking has it backwards. UV exposure breaks down collagen and damages the same lipid barrier you've spent five steps rebuilding, undoing your morning routine before lunchtime. Daily SPF isn't an optional finishing touch, it's the step that protects everything underneath it.
Why dry skin needs SPF more, not less
A compromised barrier is already struggling to hold onto water, and unprotected sun exposure makes that worse by damaging skin cells and accelerating water loss through the day. The NHS recommends daily sunscreen with at least SPF 30 and good UVA protection, regardless of skin type or weather (https://www.nhs.uk/live-well/seasonal-health/skincare-tips/). For dry skin specifically, look past the SPF number and check the base formula, since many sunscreens lean drying or mattifying, which works against everything you've just layered on.
Choosing the right formula
Not every sunscreen suits dry, sensitive skin. Prioritise:
- Mineral or hybrid formulas with zinc oxide, gentler on reactive skin than pure chemical filters
- Hydrating bases containing glycerin, hyaluronic acid, or squalane
- Broad spectrum protection covering both UVA and UVB
- SPF 30 minimum, SPF 50 if you're outdoors for long stretches
- No alcohol denat or heavy fragrance, both of which dry out already fragile skin
Avoid gel-based or "clear finish" sunscreens marketed at oily skin, since these often contain silicones and alcohols that leave dry skin tighter by midday.
Sunscreen is the step that protects every other product in your routine, not just your skin.
How to apply SPF as your final step
Apply sunscreen last every morning, after moisturiser has had a minute or two to settle. Use roughly a quarter teaspoon for your face and neck, more than most people think, and don't forget your ears and the sides of your neck, both common spots for missed coverage. Reapply if you're outdoors for extended periods, particularly midday.
Morning routines should always end here. Evening routines never include SPF, since there's no UV exposure to protect against overnight, and you're focused on repair rather than protection. Building this final step into your routine, every single day regardless of weather, is what turns the previous five steps into a lasting improvement rather than something you're constantly rebuilding from scratch.
Common mistakes that make dry skin worse
Even a well-built routine can fail if a few habits are working against you in the background. Dry skin sufferers often make small daily choices that undo everything a hydrating serum and rich moisturiser are trying to achieve, and most of these habits feel harmless at the time.
Hot showers and over-exfoliating
Going straight from a scalding shower to a flaky face is one of the most common patterns behind persistent dryness. Hot water strips lipids from skin the same way it does from your cleanser, and doing this daily undoes any barrier repair from the night before. Layered on top of that, scrubbing with a harsh physical exfoliant two or three times a week removes dead skin cells before your barrier has had a chance to rebuild them.
Over-exfoliating dry skin doesn't reveal fresher skin underneath, it just removes the protection you still need.
Product habits worth dropping
A handful of other habits show up again and again in routines that never seem to improve:
- Skipping moisturiser during humid weather, assuming skin needs less support just because the air feels less dry
- Layering too many active ingredients (retinol, vitamin C, exfoliating acids) into a routine that's already struggling to hold water
- Using the same rich cream year-round instead of adjusting texture for seasonal changes in central heating or air conditioning
- Applying products in the wrong order, putting oil-based serums before water-based ones, which blocks absorption
- Choosing fragranced products because they smell nice, even when fragrance is a known irritant for compromised skin
Inconsistent routines and rushed application
Inconsistency undoes progress faster than any single wrong product. Skipping steps on busy mornings, or only using serum when skin already feels good, means your barrier never gets the sustained support it needs to actually heal. Rushing through application matters too. Rubbing products in quickly rather than pressing them into damp skin reduces how much actually gets absorbed, so you end up reapplying more product to compensate for poor technique rather than fixing the real problem.
Finally, chasing quick fixes rather than sticking with gentle, barrier-focused ingredients for several weeks is where most people give up too early. Skin barrier repair takes time, typically four to six weeks of consistent care, and switching products every few days because you don't see overnight results just resets that clock each time.
Making hydration part of your daily routine
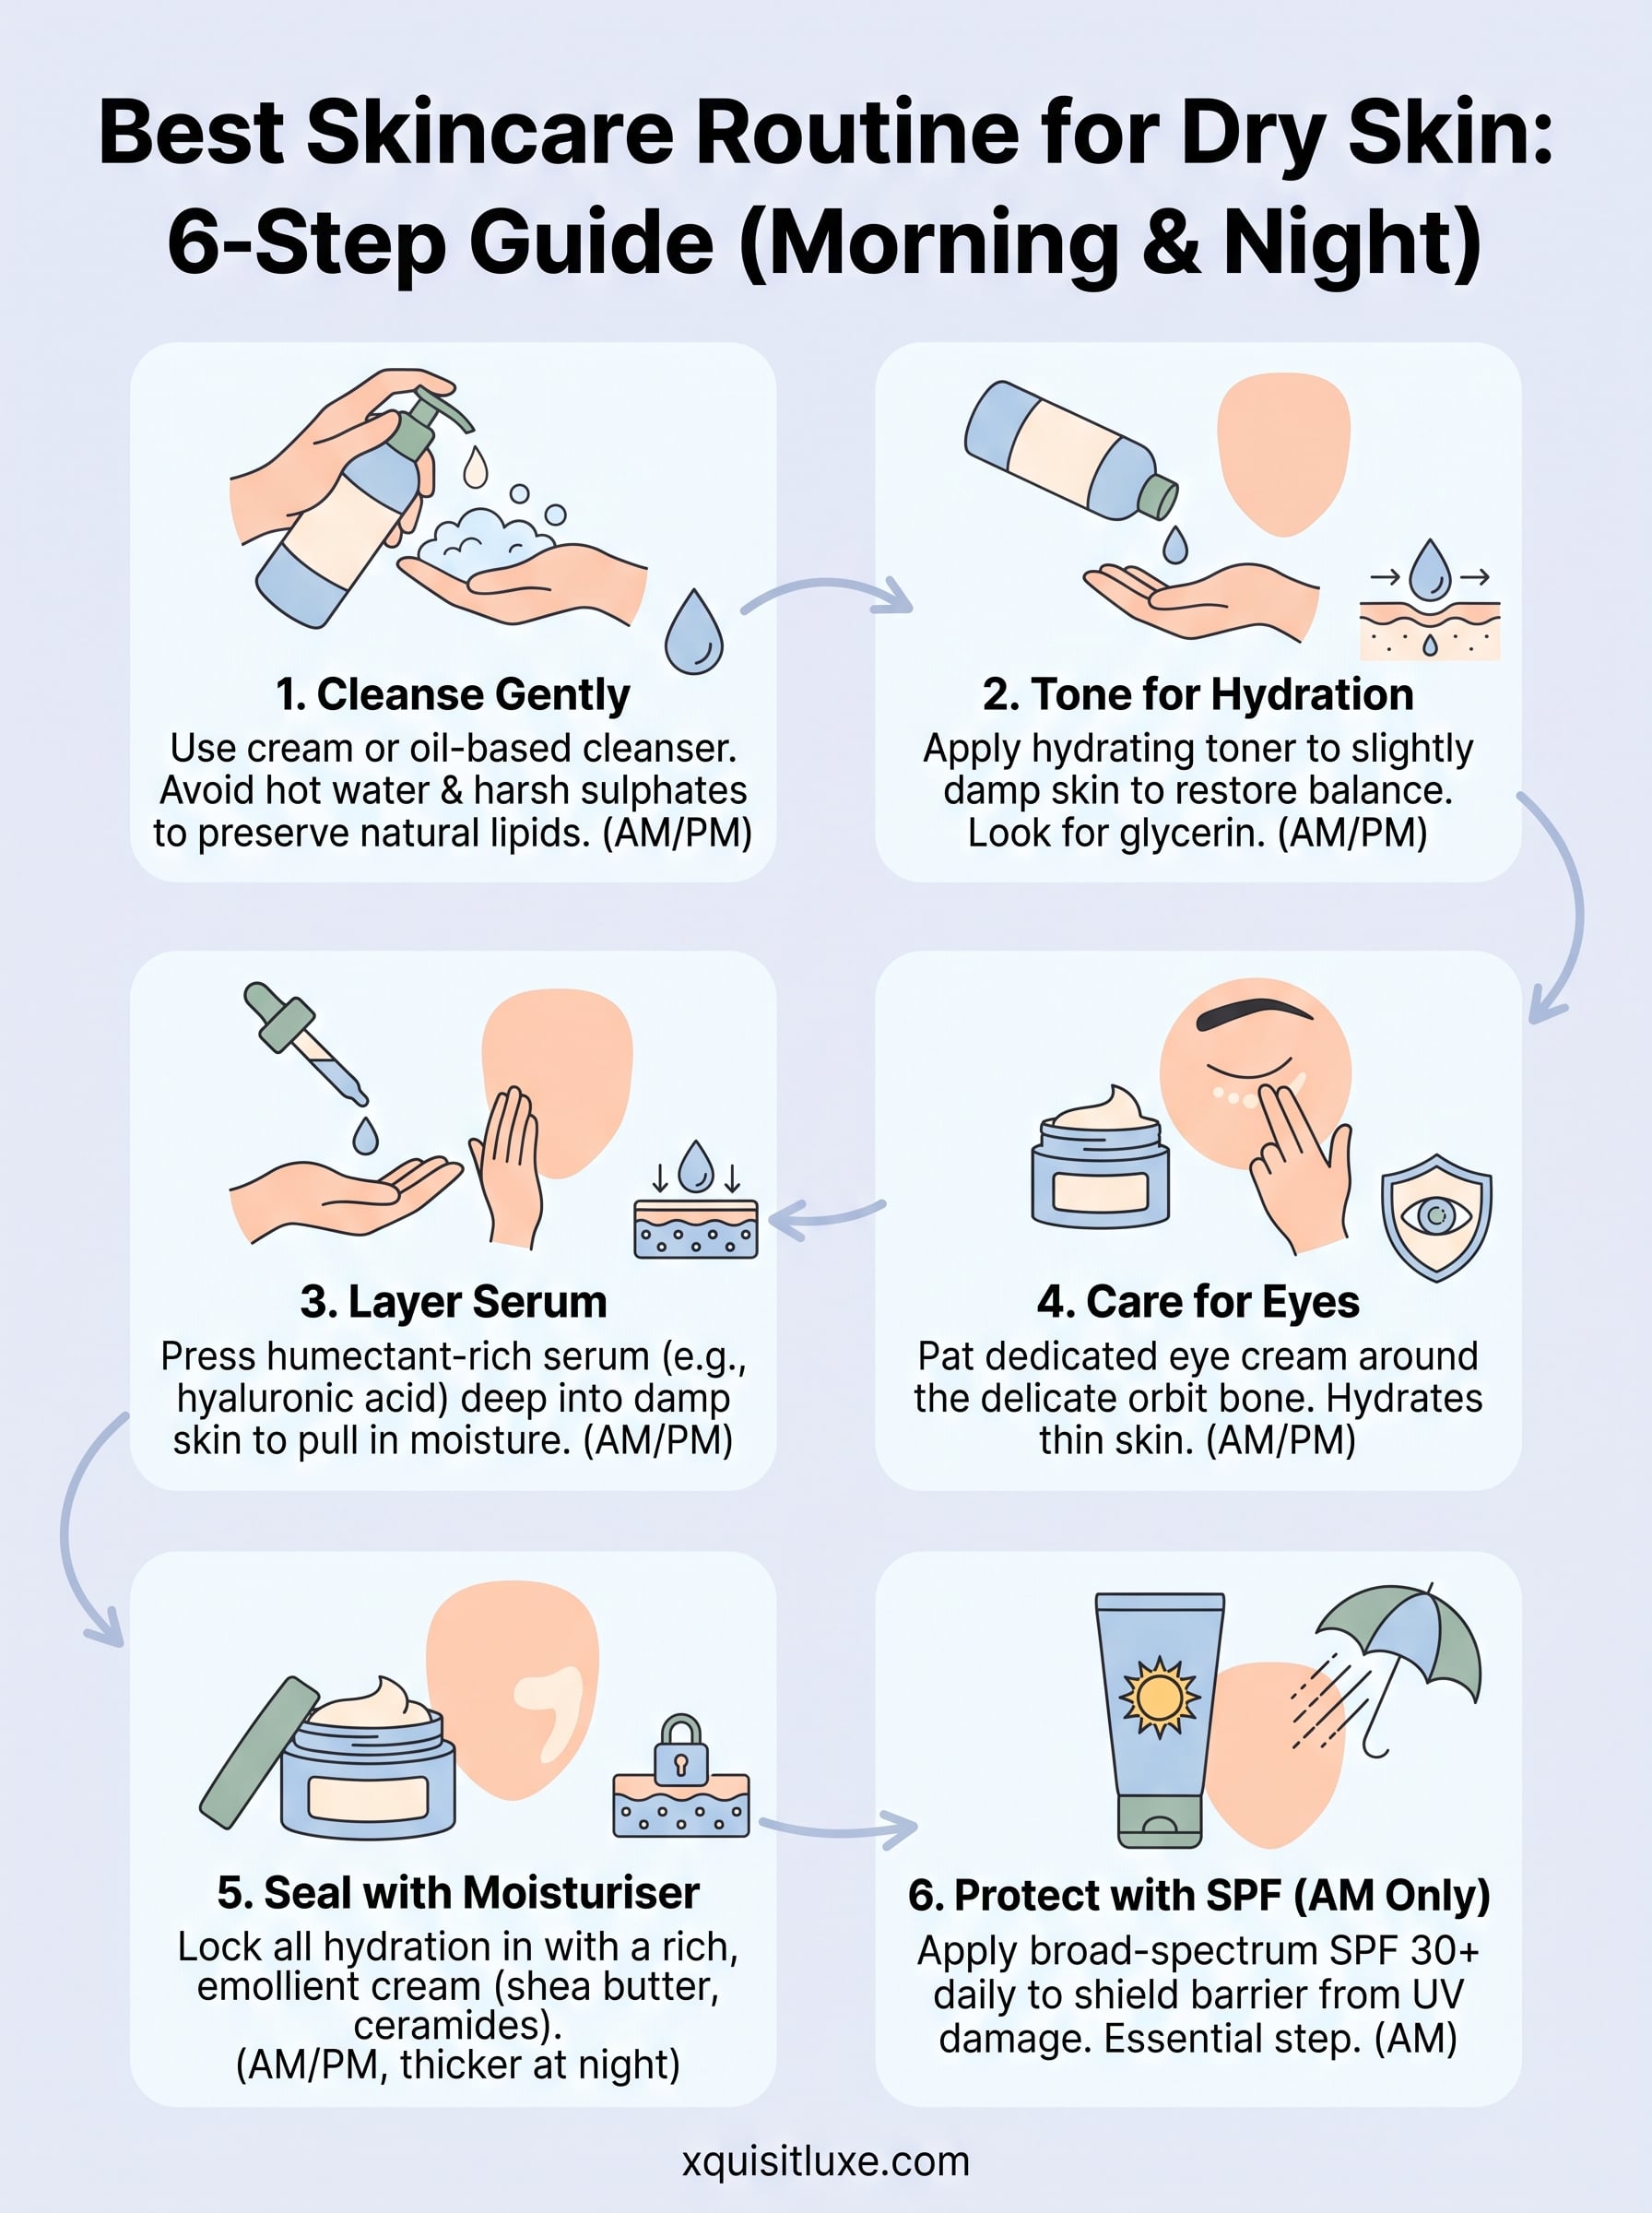
Getting dry skin under control isn't about finding one miracle product, it's about running the same six steps, in the same order, every single day. Cleanse gently, tone, layer your serum, care for the eye area, seal everything in with a rich moisturiser, and protect it all with SPF each morning. Miss a step and the ones after it work harder than they should. Stick with the sequence and your skin barrier gets the consistent support it needs to actually repair rather than just look temporarily better.
Give it four to six weeks before judging results, and resist the urge to swap products every time your skin has an off day. If you're ready to build this routine with formulas designed for genuinely dry, sensitive skin, explore Xquisit Luxe's natural skincare range and find the cleansers, serums, and moisturisers that belong in yours.
