


Thinning hair and a sluggish scalp can knock your confidence, but the fix might be simpler than you think. A rosemary oil scalp treatment has become one of the most talked-about natural remedies for hair growth, and for good reason. Research published in SKINmed Journal found that rosemary oil performed comparably to minoxidil (a common hair regrowth drug) after six months of consistent use, with far fewer side effects.
The appeal is obvious: a plant-based solution that stimulates blood flow to hair follicles, supports thickness, and soothes the scalp without harsh chemicals. But knowing rosemary oil works and knowing how to actually use it are two different things. Incorrect dilution, poor application technique, or inconsistent routines can mean the difference between visible results and wasted effort.
At Xquisit Luxe, natural hair care is central to what we do. Our UK-crafted, certified natural hair growth products, including rosemary-based formulations, are built around ingredients backed by real evidence. This guide walks you through everything: the science behind rosemary oil, step-by-step application methods, how often to use it, and what to look for in a quality treatment so you can get the most from every drop.
What a rosemary oil scalp treatment does
A rosemary oil scalp treatment works by targeting the root cause of many hair loss issues: poor circulation to the hair follicles. When blood flow to your scalp is restricted, follicles receive less oxygen and fewer nutrients, causing hair to thin, grow more slowly, or stop growing altogether. Rosemary oil helps reverse that cycle by stimulating microcirculation directly at the scalp surface, which wakes up follicles that have become sluggish or dormant.
How rosemary oil works at the follicle level
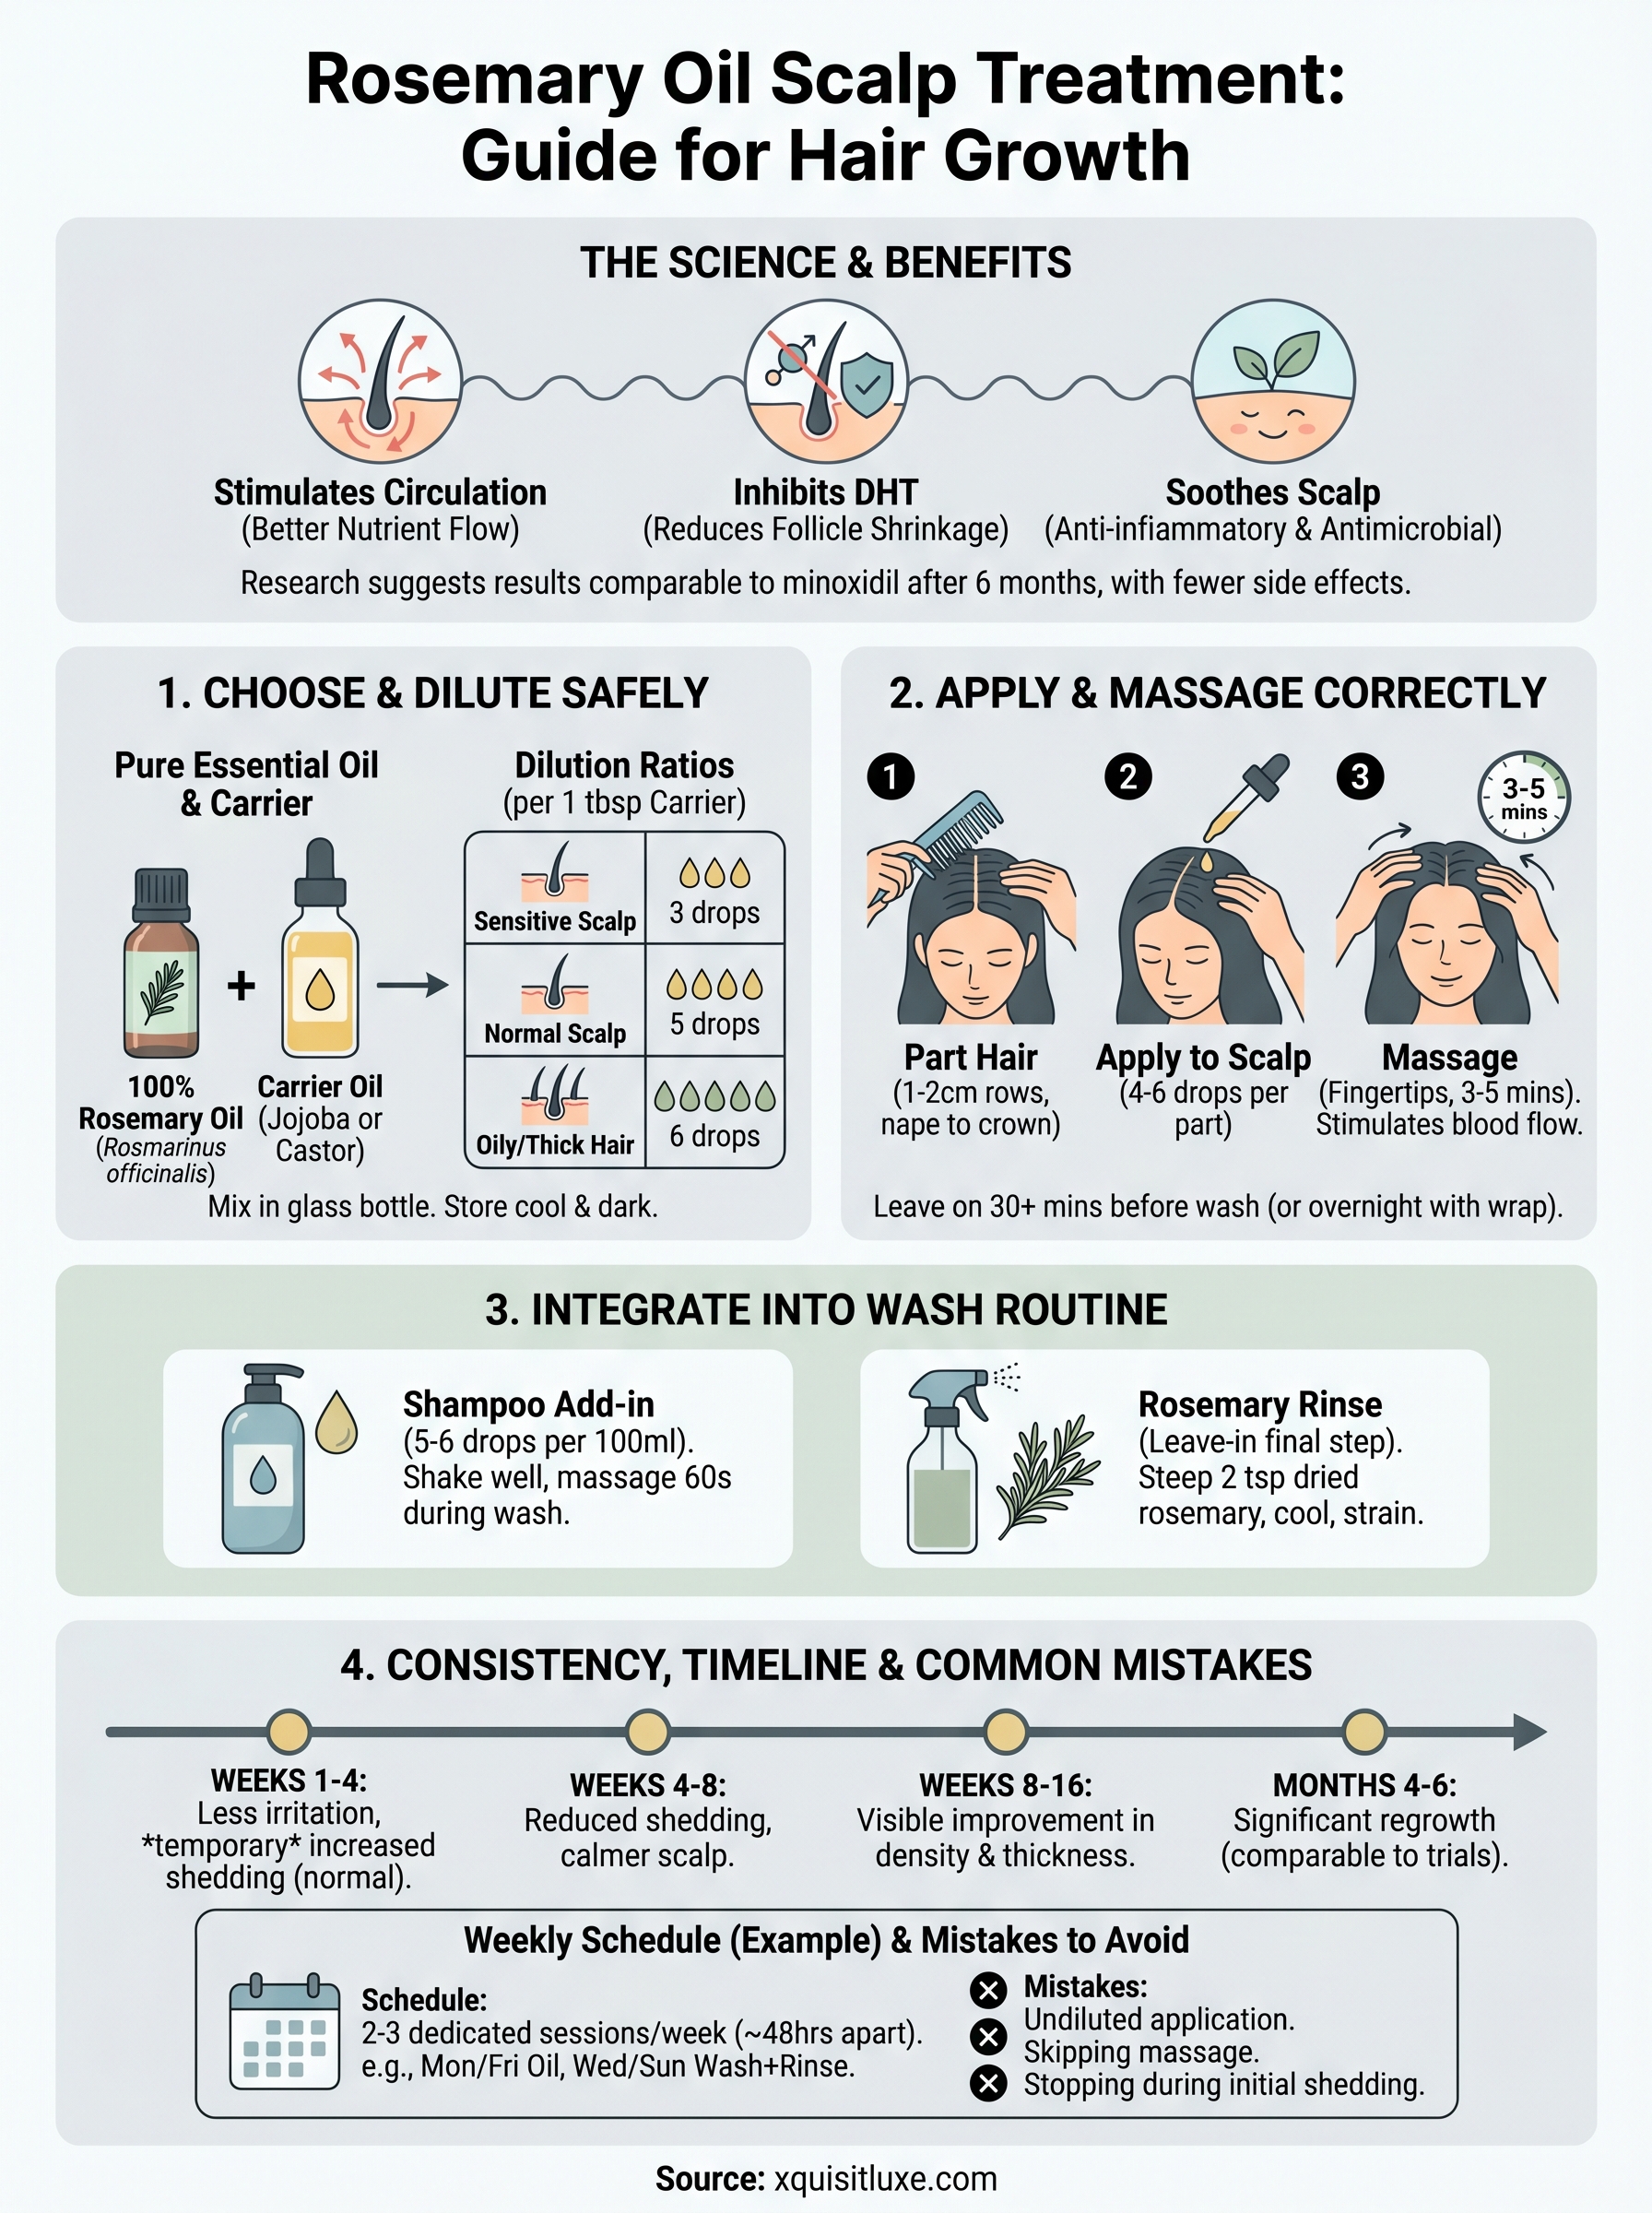
The active compounds in rosemary oil, particularly rosmarinic acid and ursolic acid, do two important things simultaneously. First, they improve blood flow to weakened follicles by dilating small blood vessels near the scalp. Second, they inhibit the binding of DHT (dihydrotestosterone), the hormone most closely linked to androgenetic alopecia, better known as pattern hair loss. By limiting DHT's effect on the follicle, rosemary oil helps preserve your hair's natural growth cycle rather than interrupting it.
Research published in SKINmed Journal found that rosemary oil matched minoxidil 2% for hair count increases after six months of consistent use, with significantly less scalp itching reported by participants.
Beyond DHT inhibition, rosemary oil carries antimicrobial and anti-inflammatory properties that calm a reactive or flaky scalp. A settled, healthy scalp environment is a prerequisite for consistent growth, and reducing chronic inflammation removes one of the most common and overlooked barriers to it.
What this means for your hair over time
Your results from rosemary oil depend heavily on consistency and correct application technique. Most people begin noticing changes between weeks 8 and 16 of regular use. These changes typically include reduced daily shedding, improved hair density, and a calmer scalp rather than sudden visible regrowth overnight.
Here is a general timeline of what to expect:
| Timeframe | Typical changes |
|---|---|
| Weeks 1-4 | Scalp feels less irritated; shedding may temporarily increase |
| Weeks 4-8 | Reduced daily hair loss; scalp feels calmer and less oily |
| Weeks 8-16 | Visible improvement in density and strand thickness |
| Months 4-6 | Comparable regrowth results to topical minoxidil in clinical trials |
The temporary rise in shedding during the first few weeks is completely normal. It reflects older hairs making way for new growth cycles to begin, not a sign that the treatment is failing.
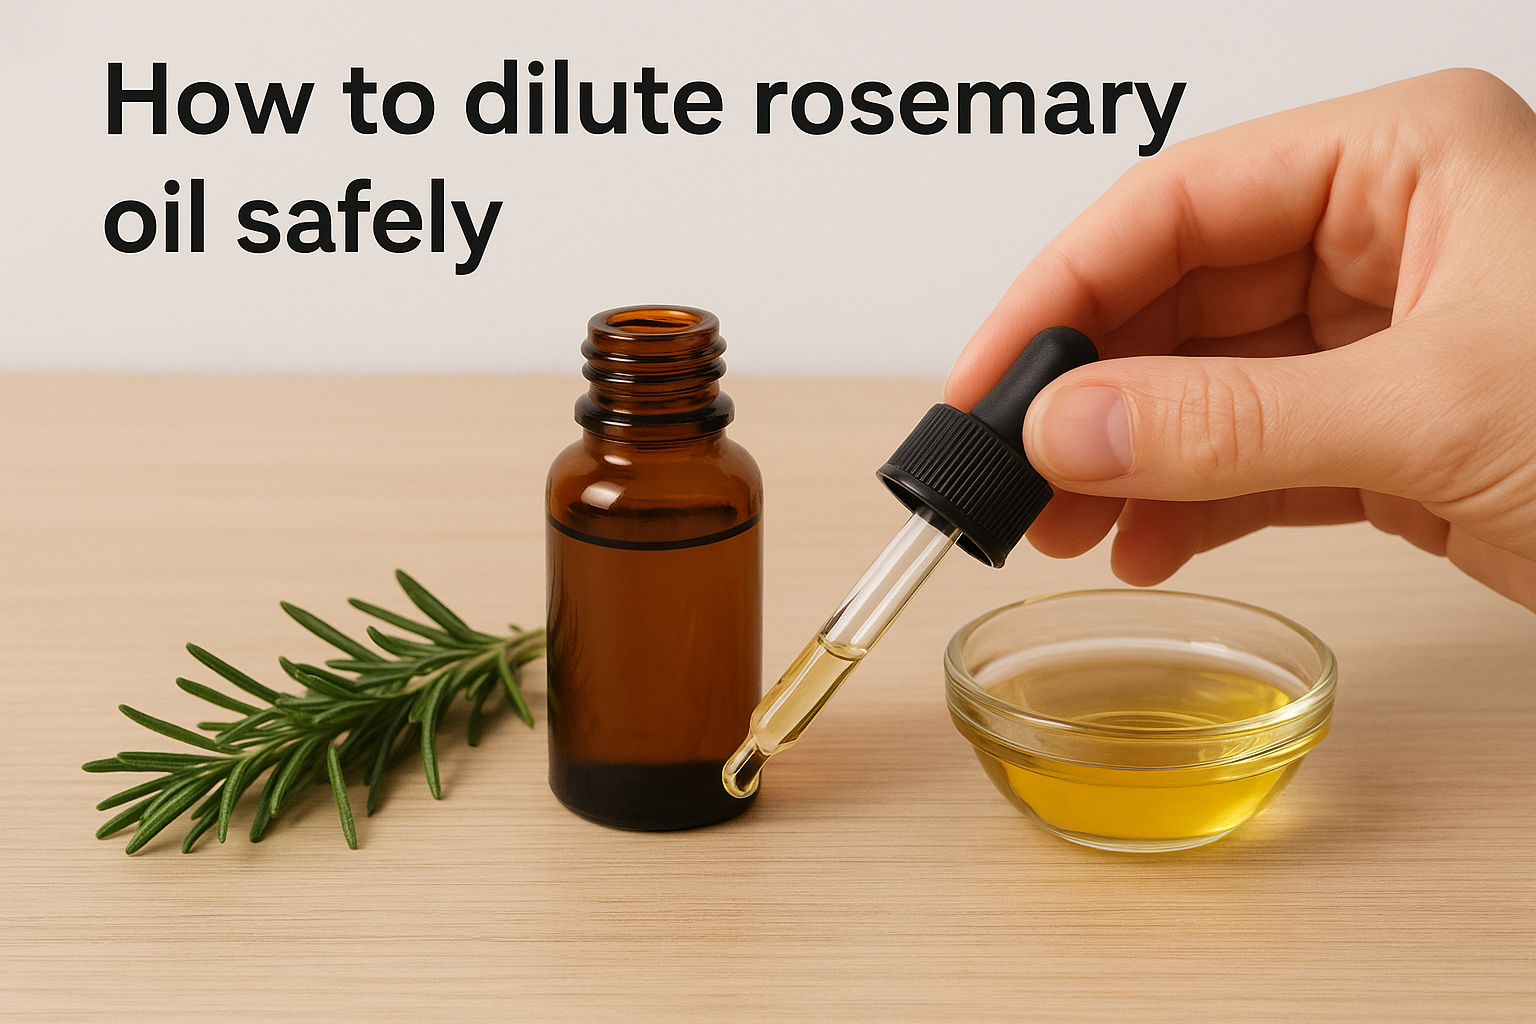
Step 1. Choose the right oil and dilute safely
Before you start any rosemary oil scalp treatment, you need to decide which form of rosemary oil you're working with. Pure rosemary essential oil is highly concentrated and must be diluted before it touches your skin. Skipping this step causes irritation and can worsen scalp inflammation rather than reducing it.
Picking a quality rosemary oil
Look for 100% pure rosemary essential oil with no synthetic additives or fillers. Check the label for the botanical name Rosmarinus officinalis or its newer classification Salvia rosmarinus, which confirms you're buying the correct species. Avoid anything labelled simply as "rosemary fragrance oil" since these contain synthetic compounds with no therapeutic benefit for your follicles.
A pre-diluted rosemary hair oil, already blended with a carrier like jojoba or argan, removes the guesswork and reduces the risk of over-concentration on a sensitive scalp.
How to dilute rosemary oil safely
Essential oil needs a carrier oil to deliver it safely to your follicles. Jojoba and castor oil are two of the most effective carriers for scalp use: jojoba closely mimics your scalp's natural sebum, while castor oil adds extra nourishment for dry or flaky skin. Use the dilution ratios below as your guide:
| Scalp condition | Rosemary oil drops | Carrier oil |
|---|---|---|
| Sensitive or reactive scalp | 3 drops | 1 tbsp |
| Normal scalp | 5 drops | 1 tbsp |
| Oily scalp or thick hair | 6 drops | 1 tbsp |
Mix your blend in a small glass dropper bottle for precise application, and store it in a cool, dark cupboard to preserve the oil's potency between uses.
Step 2. Apply it to your scalp the right way
Getting your dilution right is only half the job. How you physically apply the oil directly affects how well active compounds reach your follicles, and a clean, methodical technique makes every drop of your blend more effective than a rough pour onto dry hair.
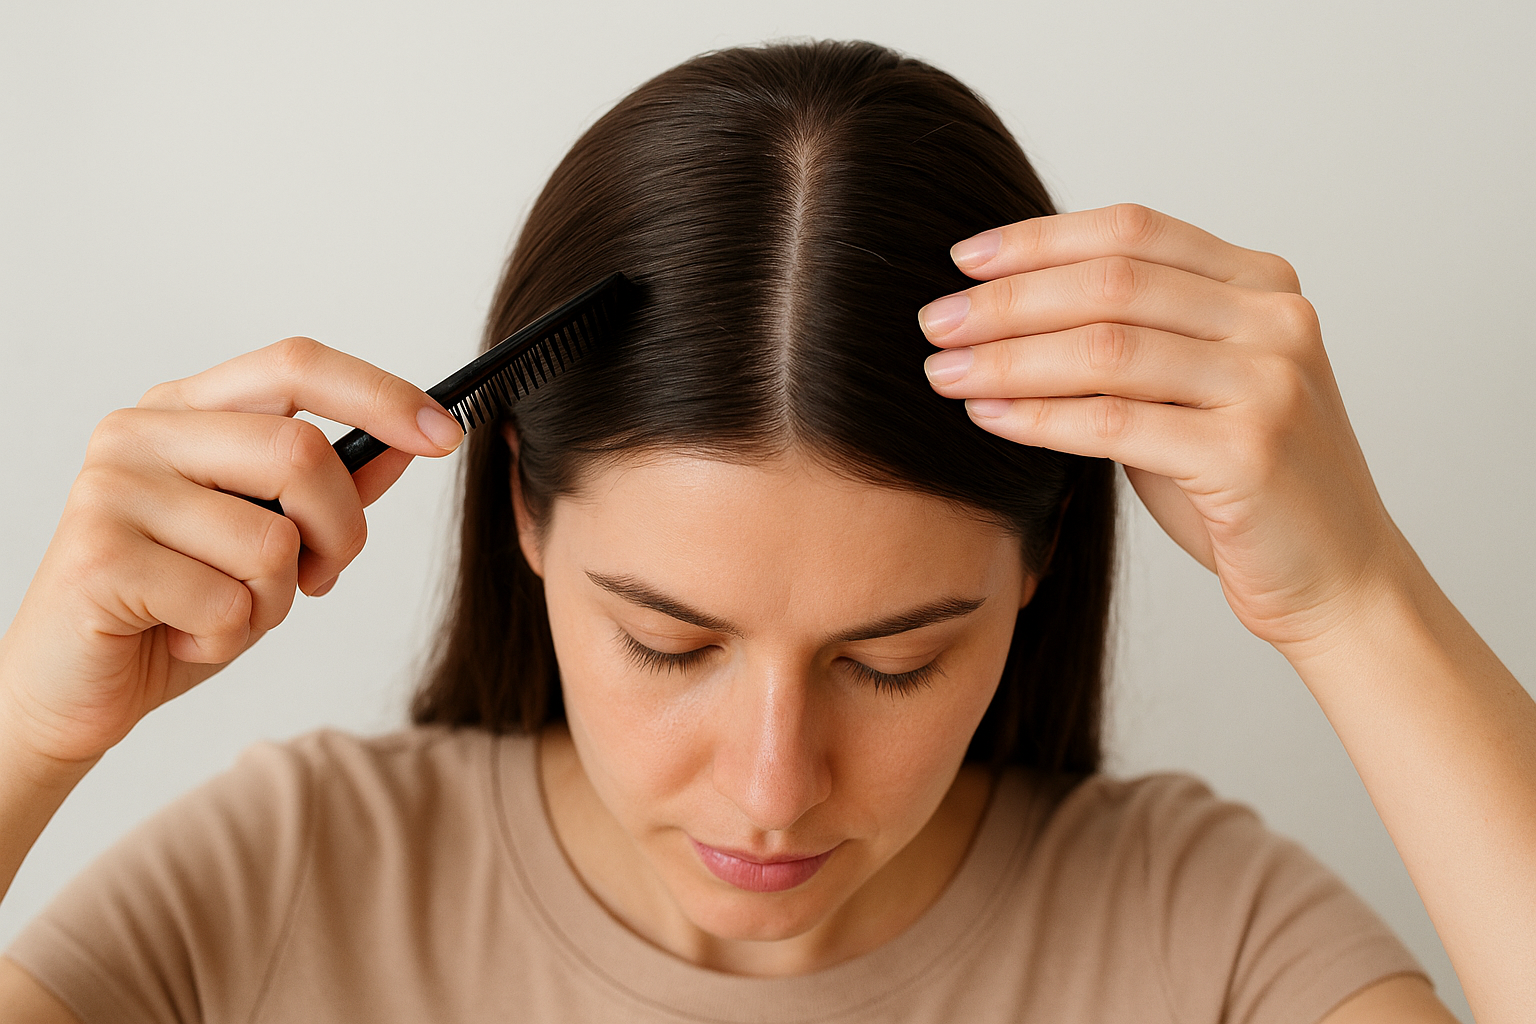
Part your hair before you start
Sectioning your hair into rows before applying any rosemary oil scalp treatment is essential. Work from the nape of your neck upward, creating 1-2cm partings with a fine-tooth comb so the oil contacts your scalp directly rather than coating your hair shafts.
Follow this sequence every time:
- Start at the nape and work toward the crown
- Apply 4-6 drops of your blended oil along each parting
- Finish at the sides and temples
Massage the oil in for at least three minutes
Use the pads of your fingertips to work the oil into your scalp with firm circular motions after applying it along each section. Spend a minimum of 3-5 minutes on the massage, as this step physically stimulates blood flow and helps the oil penetrate rather than evaporate from the surface.
Scalp massage combined with rosemary oil has been shown in research to improve hair thickness more effectively than applying oil without any accompanying massage technique.
Leave it on before washing
Apply your blend at least 30 minutes before you shower so it has time to absorb properly. For deeper results, apply it before bed and cover your scalp with a loose cotton wrap to lock in moisture overnight. Wash it out the following morning with a gentle, sulphate-free shampoo to avoid stripping the scalp of its natural oils after treatment.
Step 3. Use rosemary oil in your wash routine
Incorporating rosemary oil into your existing wash routine is one of the easiest ways to build consistency without adding a separate step to your day. Rather than treating it as an add-on, you can embed a rosemary oil scalp treatment directly into your shampoo or create a simple rinse that works while you wash.
Add rosemary oil to your shampoo
Mixing rosemary essential oil directly into your shampoo bottle is a low-effort method that works for most people. Add 5-6 drops of rosemary essential oil per 100ml of shampoo, then shake the bottle before each use to distribute the oil evenly. Avoid going above this ratio, as a higher concentration can irritate the scalp during washing when lather is in direct contact with your skin.
Massage the shampoo into your scalp for at least 60 seconds before rinsing, focusing on areas where thinning is most noticeable. This short massage period during washing adds a secondary stimulation effect on top of your main treatment sessions.
Make a simple rosemary rinse
A rosemary water rinse works as a final step after you shampoo and condition. Steep 2 teaspoons of dried rosemary in 500ml of boiling water for 20 minutes, let it cool completely, then strain the liquid into a clean spray bottle. After rinsing out your conditioner, pour or spray the rosemary water directly onto your scalp and work it in briefly with your fingertips. Do not rinse it out.
This rinse delivers a lighter, consistent dose of rosmarinic acid to your follicles with every wash, which compounds the effect of your dedicated oil application sessions over time.
Step 4. Set a schedule and avoid common mistakes
Consistency is what separates people who see results from those who give up at week three. A rosemary oil scalp treatment only produces measurable changes when you apply it on a reliable, repeating schedule that your hair growth cycle can actually respond to.
How often to apply rosemary oil
Apply your treatment 2-3 times per week for dedicated oil sessions, separate from your wash routine. Spacing sessions roughly 48 hours apart gives your scalp time to absorb the active compounds without becoming over-saturated. Use this simple weekly template as a starting point:
| Day | Action |
|---|---|
| Monday | Dedicated scalp oil treatment (30 min pre-wash or overnight) |
| Wednesday | Rosemary-infused shampoo wash |
| Friday | Dedicated scalp oil treatment (30 min pre-wash or overnight) |
| Sunday | Rosemary rinse after washing |
Sticking to a fixed schedule removes the need to decide when to treat your scalp each week, which is the most effective way to build a habit that lasts beyond the first month.
Common mistakes to avoid
Several habits consistently undermine results. Applying undiluted essential oil directly to your scalp is the most common error, causing contact dermatitis and setting your progress back. Equally damaging is over-washing with a sulphate-heavy shampoo after treatment, which strips the oils before they finish absorbing.
Two additional mistakes are worth keeping in mind:
- Skipping the massage step and leaving oil on your scalp without working it in reduces absorption significantly
- Stopping treatment during the first shedding phase in weeks one to four, which is a normal part of the growth cycle resetting, not a sign of failure
A simple routine you can stick with
A consistent rosemary oil scalp treatment does not require complex steps or expensive equipment. The framework in this guide, two to three dedicated oil sessions per week, rosemary added to your shampoo, and a rinse on wash days, gives your follicles a steady, reliable stimulus that compounds over weeks and months. Start with the dilution ratios and weekly template from this guide, then adjust based on how your scalp responds.
Results come from repetition, not intensity. Pick a schedule that fits your existing wash routine and commit to it for at least 12 weeks before drawing any conclusions. Most people who stop early do so during the normal shedding phase in weeks one to four, which is exactly when staying consistent matters most. Tracking your shedding count daily during this period helps you stay objective rather than reactive.
If you want a pre-diluted, ready-to-use option, explore the Xquisit Luxe natural hair care range for UK-crafted formulations built around certified natural ingredients.

